
Quick answer
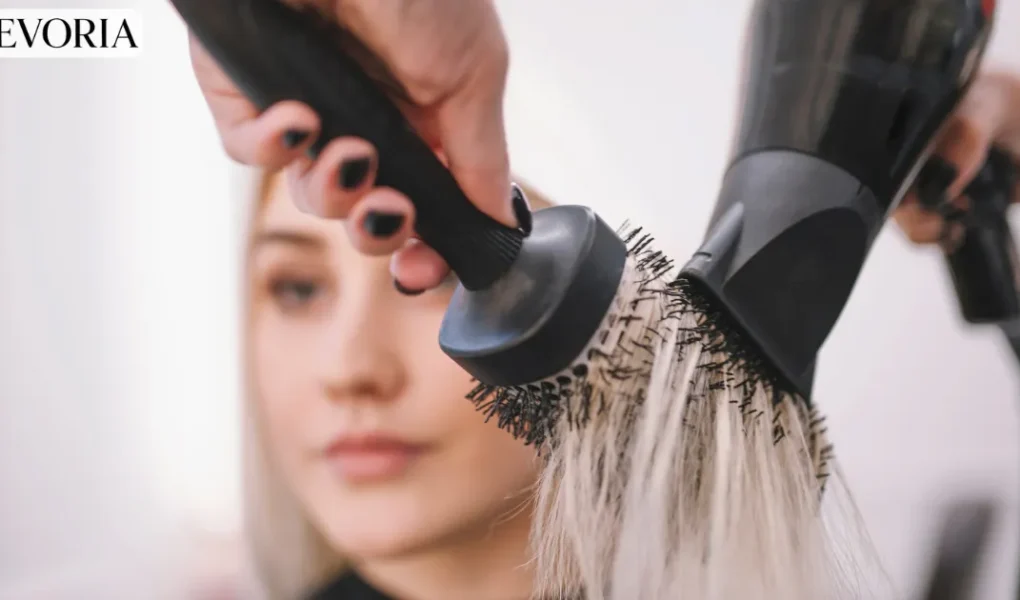
Brush drying refers to the technique of blow-drying hair using a round or paddle brush to guide, smooth, and shape the hair as it dries, rather than simply air drying or diffusing without a brush. It is the technique behind a salon-style blowout, allowing you to add volume at the roots, smooth the mid-lengths and ends, or create soft bends and waves depending on brush size and technique. Getting consistent results depends more on technique, brush choice, and section size than on any single product or tool alone.
If you searched “brush drying,” you are most likely trying to understand what this technique actually involves, which brush to use for your hair type and desired result, or how to get smoother, more polished results at home without visiting a salon. This guide covers all of that with specific, practical steps.
What is brush drying?
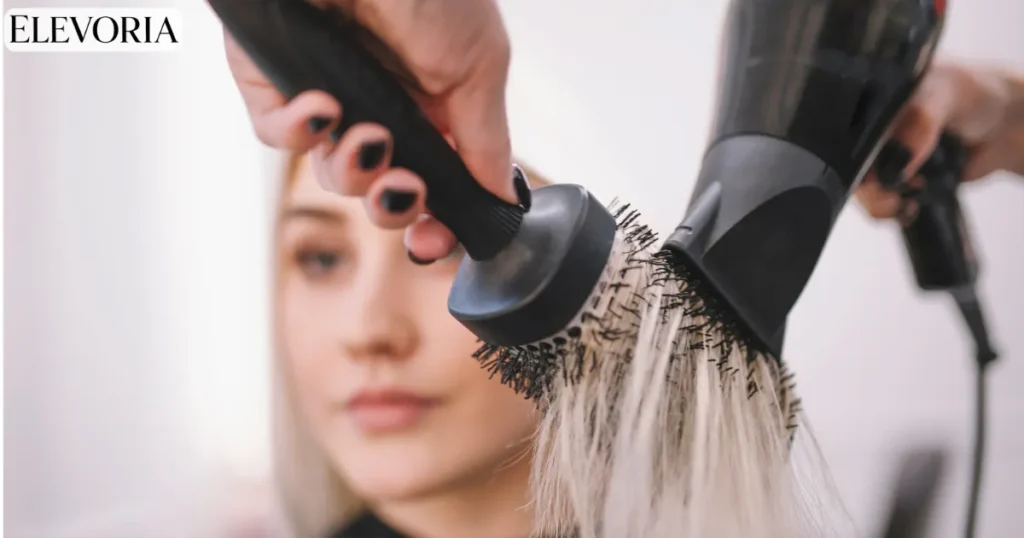
Brush drying is a blow-drying technique where a round or paddle brush is used to hold tension on sections of hair while a blow dryer directs airflow along the hair shaft. The brush does two things at once: it smooths the hair’s outer layer (the cuticle) as air passes over it, and it shapes the hair into the form of the brush as it dries, whether that means straight and smooth, gently curved, or voluminous at the root.
This differs from simply air drying, which involves no active shaping, and from diffusing, which spreads airflow over a wider area, typically used to enhance natural curl pattern rather than create smoothness or directional shape.
Why brush drying works
Hair strands have a natural cuticle layer, made of overlapping cells similar in structure to roof shingles. When this layer lies flat, hair tends to look smoother and shinier, since light reflects more evenly off a flat surface. Brush drying works partly by using tension and directed airflow to help this cuticle layer lie flatter as the hair dries, which is a major reason blow-dried hair often looks noticeably smoother and shinier than hair that has air dried without any brushing or tension.
Heat also plays a role, since applying heat while hair is held in a specific shape, whether straight, curved, or voluminous, helps the hair set into that shape as it cools and dries fully.
Types of brushes used for brush drying
| Brush type | Barrel size | Best result |
|---|---|---|
| Small round brush | Narrow barrel | Tighter curls, more defined bends, shorter hair |
| Medium round brush | Mid-size barrel | Soft waves, versatile volume and shape for most hair lengths |
| Large round brush | Wide barrel | Smooth, straight results with subtle volume, longer hair |
| Paddle brush | Flat, wide surface | Maximum smoothness and straightness, less curl or shape |
| Vented round brush | Varies, with airflow holes | Faster drying time due to increased airflow through the brush |
Smaller brushes create more defined curves and are generally easier to control on shorter hair, while larger brushes create smoother, straighter results and work well for longer hair where a smaller brush would create too tight a curve relative to the length.
How to brush dry hair: step by step
- Start with damp, not soaking wet, hair. Hair that is too wet takes significantly longer to dry and can lead to more frizz, since the additional drying time creates more opportunity for the cuticle to lift before it fully sets.
- Apply a heat protectant. Since brush drying involves direct heat exposure, a heat protectant product helps reduce potential heat-related damage.
- Section your hair. Working in smaller sections, generally starting at the back of the head and working forward, makes the technique more manageable and produces more even results than trying to dry large sections at once.
- Clip away sections you are not currently working on. This keeps hair organized and prevents already-dried sections from being disturbed by airflow meant for other sections.
- Position the brush at the root of a section, then pull the brush slowly down the length of the hair while directing the blow dryer’s airflow along the same path, generally following the brush rather than pointing air in multiple directions.
- Angle the dryer’s airflow downward along the hair shaft, in the same direction as the cuticle layer, to support smoothness rather than roughing up the cuticle.
- Use a cool shot setting, if your dryer has one, at the end of each section. Cooling the hair while it is still wrapped around the brush or held in position helps set the shape more effectively than moving on while the hair is still warm.
- Repeat through all sections, working systematically rather than skipping around, to maintain even results and avoid missing sections.
- Finish with a lightweight serum or shine product if desired, applied sparingly to avoid weighing down the volume created during the drying process.
Brush drying for different hair goals
For volume at the roots
Use a round brush and lift sections upward and away from the scalp as you dry, directing airflow at the root area specifically before moving down the length of the hair.
For sleek, straight results
Use a large round brush or paddle brush, applying consistent tension while pulling the brush straight down the length of the hair, working in smaller sections for the most control.
For soft waves or bends
Use a small to medium round brush, rolling sections partially or fully around the brush barrel before applying heat, then releasing gently once the section has cooled.
For reducing frizz on wavy or curly hair
A large round brush, used with lighter tension than for straight styling, can help smooth the hair’s outer cuticle while still allowing some natural wave pattern to remain, rather than fully straightening the hair.
Common mistakes people make with brush drying
- Starting with hair that is too wet. This extends drying time significantly and increases the risk of frizz and cuticle damage from prolonged heat exposure needed to fully dry oversaturated hair.
- Skipping heat protectant. Direct heat styling without any protective product increases the risk of long-term heat damage, particularly with repeated use over time.
- Working with sections that are too large. Large sections are harder to dry evenly and often result in some areas remaining damp while others become overdried.
- Moving the dryer inconsistently or pointing it in multiple directions. This can rough up the cuticle layer rather than smoothing it, working against the technique’s main benefit.
- Releasing the brush before hair has cooled. Moving on to the next section while hair is still warm reduces how well the set actually holds once fully cooled and dry.
- Using a brush size mismatched to your hair length or desired result. A very small brush on long hair, or a very large brush aiming for tight curl definition, generally will not produce the intended shape effectively.
- Applying too much heat too close to the scalp repeatedly. This increases the risk of scalp irritation and heat damage in a concentrated area, particularly with slower, less experienced technique.
Brush drying versus other drying methods
| Method | What it does | Best suited for |
|---|---|---|
| Brush drying | Actively shapes and smooths hair using brush tension and airflow | Smooth, polished, or shaped results, salon-style blowouts |
| Diffusing | Spreads airflow over a wider area, generally without a brush | Enhancing natural curl pattern with minimal frizz |
| Air drying | No active heat or brush involvement | Lower-maintenance, heat-free drying, more natural results |
| Plopping | Uses a t-shirt or towel to scrunch and support curls while drying | Curl definition and reduced frizz, particularly for wavy and curly hair |
Actionable recommendations
- Start with damp, not soaking wet, hair and always apply a heat protectant before brush drying.
- Choose a brush size based on your hair length and desired result, larger brushes for smoothness, smaller brushes for more defined curve or curl.
- Work in smaller, manageable sections rather than trying to dry large portions of hair at once.
- Use a cool shot setting at the end of each section, if available, to help set the shape more effectively.
- Keep airflow direction consistent, following the brush down the hair shaft rather than pointing the dryer in multiple directions.
- Avoid excessive repeated heat exposure in the same area, particularly close to the scalp, to reduce the risk of heat damage over time.
Frequently asked questions
What does brush drying mean for hair? Brush drying refers to blow-drying hair using a round or paddle brush to actively shape, smooth, and add volume or curve as the hair dries, rather than air drying or diffusing without a brush.
What brush is best for brush drying? This depends on your goal. Larger round or paddle brushes create smoother, straighter results, while smaller round brushes create more defined curls or bends, particularly suited to shorter hair lengths.
Does brush drying damage hair? Like any heat styling method, brush drying carries some risk of heat damage with repeated use, which is why using a heat protectant and avoiding excessive, repeated heat exposure in the same area are important precautions.
How is brush drying different from diffusing? Brush drying uses a brush to actively shape and smooth hair with directed airflow, generally aiming for a smoother or more defined shape, while diffusing spreads airflow more broadly, typically to enhance natural curl pattern with less direct shaping.
How wet should my hair be before brush drying? Hair should be damp, generally towel-dried first, rather than soaking wet, since overly wet hair extends drying time and increases the risk of frizz and cuticle damage.
Can brush drying create volume? Yes, lifting sections at the root and directing airflow at the base of the hair while brush drying is a common and effective way to add volume, particularly with a round brush.
Is brush drying good for curly or wavy hair? It can be, particularly with a larger brush and lighter tension, to smooth frizz while retaining some natural wave pattern, though tighter curl types may prefer diffusing or plopping to preserve more of their natural curl definition.
How long does brush drying typically take? This varies by hair length, thickness, and section size, but brush drying generally takes longer than simple air drying due to the more detailed, section-by-section process involved.
The bottom line
Brush drying is the technique behind a polished, salon-style blowout, using brush tension and directed heat to smooth the hair’s cuticle and shape it as it dries. Getting consistent, damage-conscious results comes down to starting with properly damp hair, choosing the right brush size for your length and goal, working in manageable sections, and using a cool shot to help the shape set before moving on, rather than relying on any single product to do the work.
Read More: 3A Hair: How to Identify It and Build a Routine That Actually Works



[…] Read More: Brush Drying: How to Blow-Dry Hair With a Brush for Smoother, More Controlled Results […]